|
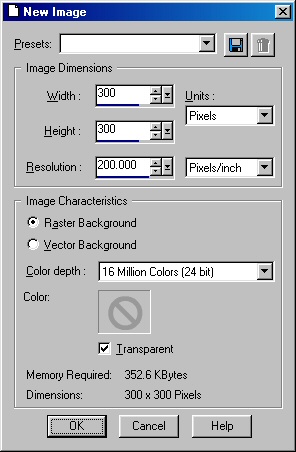
Repeat Screen Shot 3
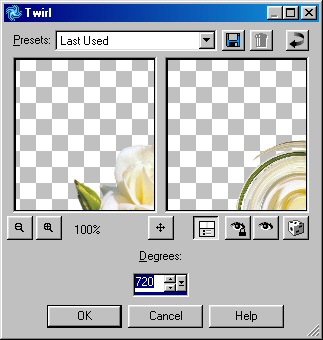
Repeat Screen Shot 4
Repeat Screen Shot 3
Repeat Screen Shot 4
Repeat Screen Shot 3
Repeat Screen Shot 4 Upon
completion of these steps, go to Edit-Paste-Paste As New Layer.
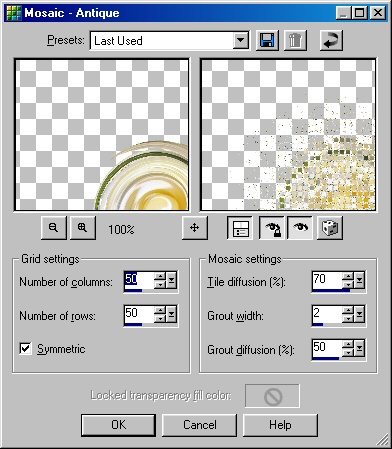
Your main image will now be on the mosaic burst. Then Layers-Merge-Merge
Visible.
 At this point you can export as a
picture tube, open a new image with a colored background ore seamless background
to coordinate with your page, and apply your graphic. Your finished result
with have a burst of mosaic that color coordinates with the main image.
Your result will be similar to this example: At this point you can export as a
picture tube, open a new image with a colored background ore seamless background
to coordinate with your page, and apply your graphic. Your finished result
with have a burst of mosaic that color coordinates with the main image.
Your result will be similar to this example: |