|
Creating your Watermark Watermarking is actually very simply and requires very few steps. |
|
Open a new images with the settings shown in Screen Shot 1. Please click on small images to view larger screen shot in a new window or follow the below text directions:Image Dimensions Image Characteristics
|
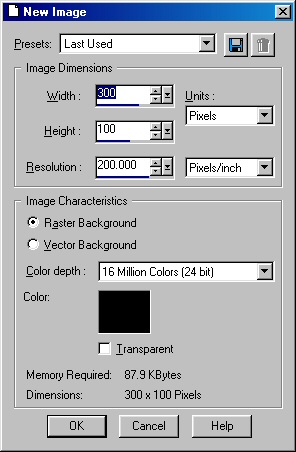 Screen Shot 1 |
 You should now have an
image similar to this:
You should now have an
image similar to this: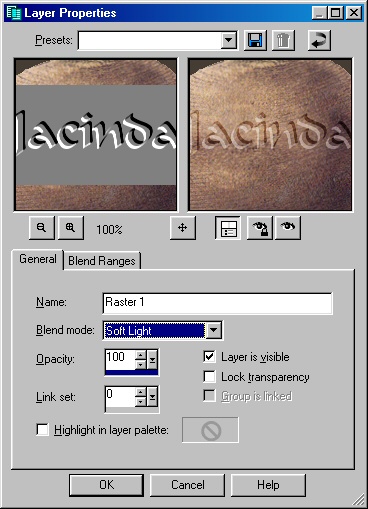
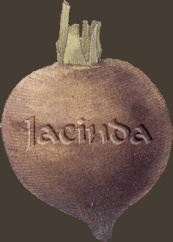 ow if you
like you are still able to move the watermark around and place it where you want. When it is on the graphic where you want it, go to Layers-Merge-Merge
All
(Flatten) and save your final result giving you something similar to the shown
example.
ow if you
like you are still able to move the watermark around and place it where you want. When it is on the graphic where you want it, go to Layers-Merge-Merge
All
(Flatten) and save your final result giving you something similar to the shown
example.