|
Now go to File/New and make a new image with the following settings: (This will be referred to as Image 1 throughout the tutorial)
Image Dimensions:
Image Characteristics: |
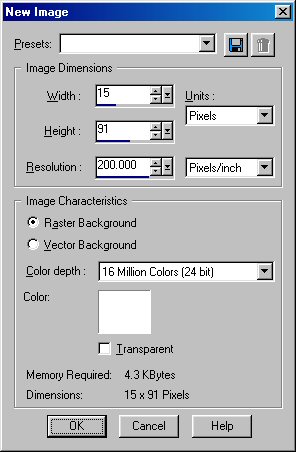 Screen Shot 1 |
|
Next you need to buttonize Image 1 (Effects/3-D Effects/Buttonize) using these settings, actually you can adjust your width, but keep your height at 1.
Height: 1 Select your entire image by going go Selections/Select All. |
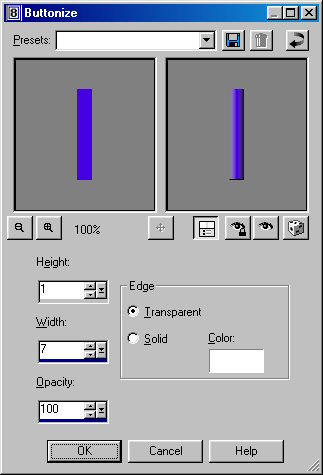 Screen Shot 2 |
|
Ok, next you want to open the goldtwist.psp file and go to Edit/Copy then Edit/Paste as new layer onto your Image 2. You might have to move it over to the right a hair by placing your cursor over it and dragging. At this point this is what you should have: |
|
Now you want to make this into a background, right? Ok, now go to File/New and make a new image of width-40 and the height will have to be a multiple of 71, (because your goldtwist image is 71) for instance 142, 213, 284, etc. I used 40-width, 284 height. Select your flood fill bucket and use Image 2 for the flood fill pattern as in the following example: |
|||
|
Choose pattern from the menu and proceed to Screen Shot 4 Screen Shot 3 |
Click on pattern to get to Screen Shot 5  Screen Shot 4 |
Click for larger view Click on the arrow beside current pattern select the spiral as shown in Screen Shot 6 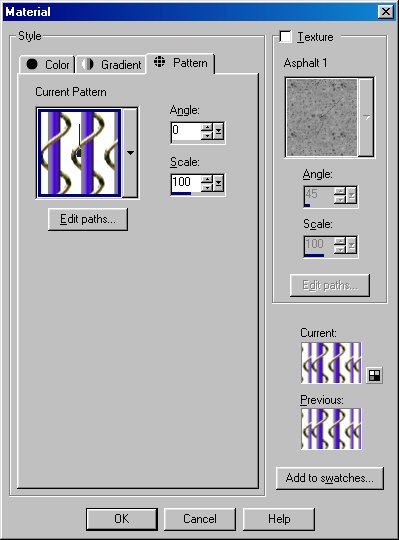 Screen Shot 5 |
Click for larger view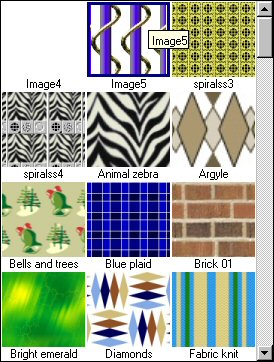 Screen Shot 6 |
|
Ok, almost done, make sure white (#FFFFFF)is set for your background color in the Color Palette, and go to Image/Add borders. Use the below settings:
Size in
pixels: |
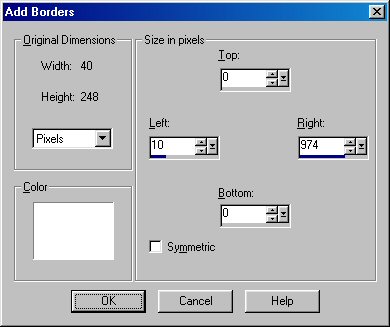 Screen Shot 7 |
:
Home : : PSP Tutorials
: :
OE5 Stationery : : Applets
: : Friends : :
Frames :
: Awards : :Webrings
: : J's Web Design :
:
Inspired
Scripting : : Web Sets :
: Sign the
Guestbook : :
View the
Guestbook :
Copyright � 2003 Jacinda's Web
Design