Layers/Animation
|
Layers/Animation
|
|
Step
1: Click on
picture to enlarge or use these settings: |
 Screen Shot 1 |
|
Step
2:
Step 3: Click on picture to
enlarge or use these settings: |
 Screen Shot 2 |
|
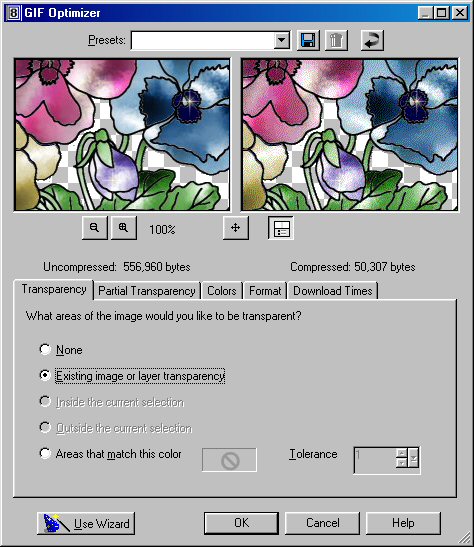
Step
4: Click on picture to
enlarge or use these settings: Repeat Step 3 |
Screen Shot 3 |
|
Step 5: Write down the dimensions of your Main Image (Height and Width) Go to File/Launch Animation Shop File/Animation Wizard Follow the below steps: Click on the picture to enlarge |
Screen Shot 4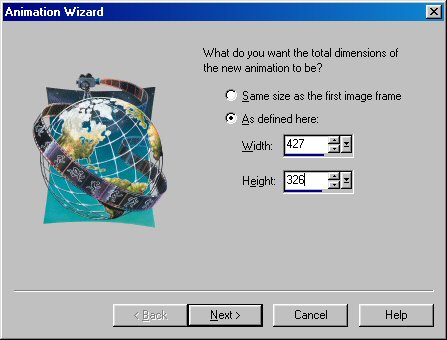 Change height and width to your Main Image's height and width. |
Screen Shot 5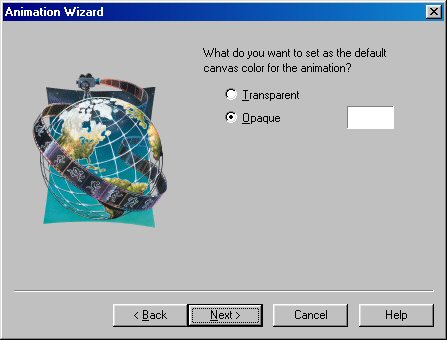 Change the color to the color you wish to have your background. |
Screen Shot 6 Use default settings here if you wish. |
Screen Shot 7 Timing can be changed here, the smaller the number, the faster the animation. The higher the number, the slower the animation. |
Screen Shot 8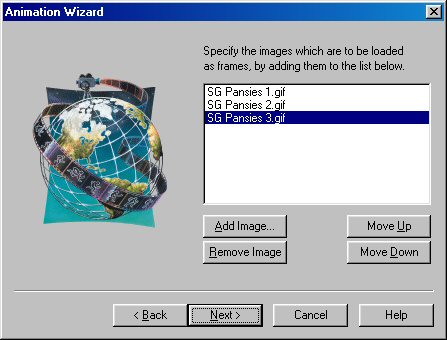 Browse to the folder you saved your images in, add all three. |
Screen Shot 9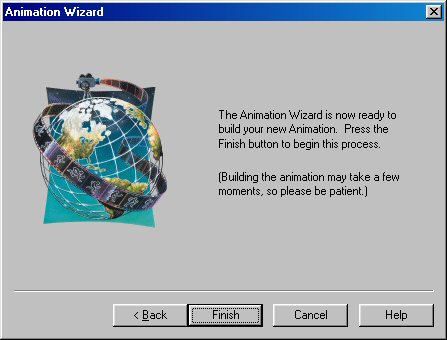 Click Finish. |
|
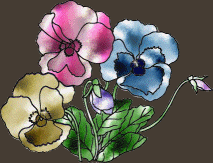
Lastly, save your image
and compress it to your liking. Giving you a final result similar to
this: (Resized 50%) |
:
Home : : PSP Tutorials
: :
OE5 Stationery : : Applets
: : Friends : :
Frames :
: Awards : :Webrings
: : J's Web Design :
:
Inspired
Scripting : : Web Sets :
: Sign the
Guestbook : :
View the
Guestbook :
Copyright � 2003 Jacinda's Web
Design