Reflect
Paint Shop Pro 7
Per BarbH's request :-)
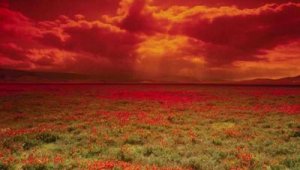
What you will need is the Reflect.zip, click to download or download from the original program site by clicking here. Open the Reflect.exe file to begin. Below is the image used in this tutorial, please save it to your hard drive or use one of your own:
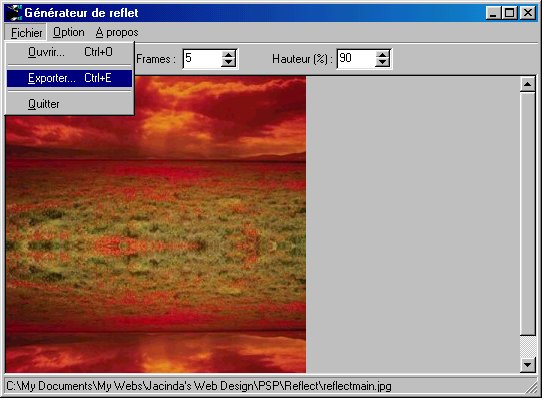
Set it as shown below in Screen
Shot 1:
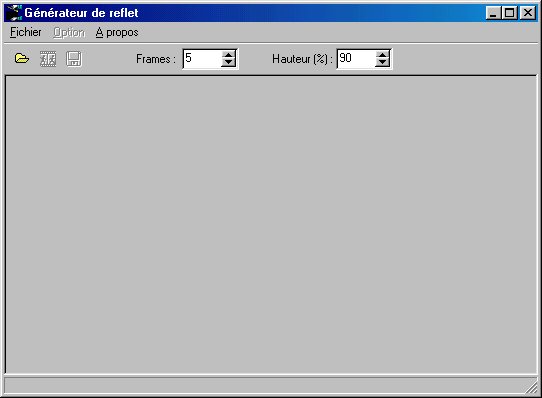
Screen Shot 1
Go to Fichier/Ouvrir
(File/Open). Browse to the folder you saved your picture you wish to use
in and open it as shown in Screen Shot 2 below:
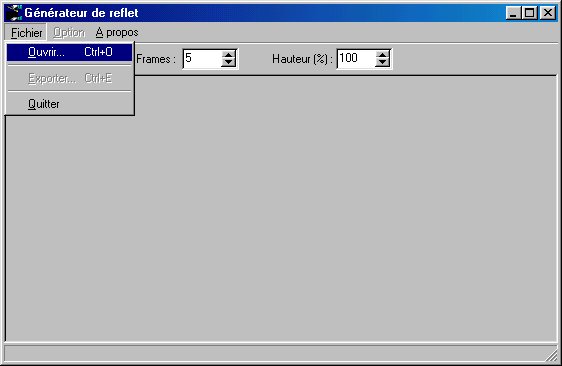
Screen Shot 2
Once you have opened your
graphic, go to Option/Vitesse/ and check Lente for low, Moyenna for medium, and
Rapide for rapid water movements. I chose Moyenne (medium) as it appears the
most natural to me.
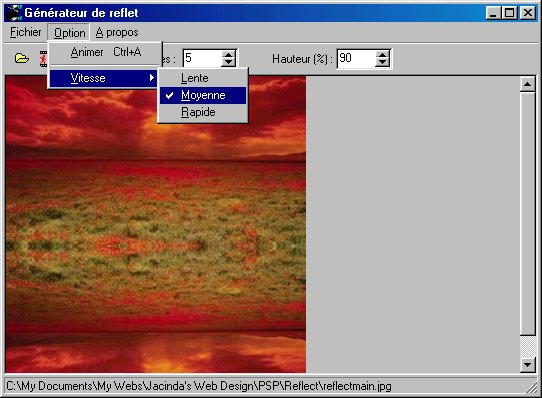
Screen Shot 3
Go to Fichier (File) Exporter
(Export) to begin saving your final product as shown in Screen Shot 4 below:
Screen Shot 4
Lastly, check the appropriate
boxes and save as shown in Screen Shot 5 and save to any folder on your hard
drive:
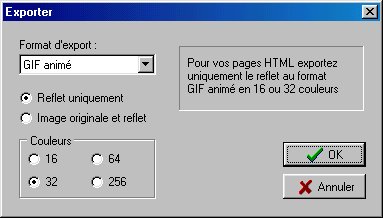
Screen Shot 5
You will be given the option to
view on your browser window or not to. Please choose which and exit the
program. Once you have accomplished all the above steps, you must make a
transparent frame as shown in the
Swan Lake tutorial. Lastly
insert your main image, the gif you created with the Reflect program, and the
transparent frame into the
below color coded script accompanied by any animated gif of your choosing.
One has been provided here for your convenience, right click and save to your
hard drive:
| Blue
= Optional changes Red = Main image changes (actual height and width must be entered) Purple = Reflect image changes (actual height and width must be entered and the top 'TOP: 87px' must be the height of the main image) Green = Midi changes Orange = Frame changes (actual height and width must be entered) This is accomplished by multiplying the height of the main image by two) Pink = Animation (actual height and width must be entered) Positioning of the animation can be altered by adjusting the 'TOP: 70px' Lime = Left text margin (must be the width of your frame plus 10 pixels) |
|
<HTML><HEAD> <STYLE type=text/css>BODY { BACKGROUND: #C63D2B; COLOR: #FFFFFF; FONT-FAMILY: "Verdana"; FONT-SIZE: 10pt; MARGIN-LEFT: 315px; MARGIN-RIGHT: 5px; MARGIN-TOP: 10px } </STYLE> </HEAD> <BODY bgColor=#C63D2B> <DIV> </DIV> <DIV> </DIV> <BGSOUND balance=0 src="C:\Program Files\Common Files\Microsoft Shared\Stationery\peace.mid" volume=0 loop=infinite> <IMG style="Z-INDEX: -1; LEFT: 0px; POSITION: absolute; TOP: 0px" height=170 src="C:\Program Files\Common Files\Microsoft Shared\Stationery\reflectmain.jpg" width=300> <IMG style="Z-INDEX: 2; LEFT: -26px; POSITION: absolute; TOP: 70px" height=37 src="C:\Program Files\Common Files\Microsoft Shared\Stationery\whitebird.gif" width=261> <IMG style="Z-INDEX: 2; LEFT: 0px; POSITION: absolute; TOP: 0px" height=340 src="C:\Program Files\Common Files\Microsoft Shared\Stationery\reflectframe.gif" width=300> </DIV> <IMG style="Z-INDEX: -1; LEFT: 0px; POSITION: absolute; TOP: 170px" height=170 src="C:\Program Files\Common Files\Microsoft Shared\Stationery\reflectmain2.gif" width=300> </DIV> </BODY></HTML> |
To view the final product, click here
:
Home : : PSP Tutorials
: :
OE5 Stationery : : Applets
: : Friends : :
Frames :
: Awards : :Webrings
: : J's Web Design :
:
Inspired
Scripting : : Web Sets :
: Sign the
Guestbook : :
View the
Guestbook :
Copyright � 2002 Jacinda's Web Design